This article covers the basics of user management in Kubuntu 22.04, including adding and deleting users and changing passwords. If you are using another version of Linux, your distribution may be similar.
One of the great things that all Linux distributions, including Kubuntu, have is that they are excellent at handling multiple users, and were in fact designed from the ground up around that. The ancestor of modern Linux, the Unix operating system, was designed in the 1960s and 1970s around a paradigm called timesharing. In those days, when computers were large and expensive—generally in the hundreds of thousands to millions of dollars in today’s money—whole university departments, offices, and businesses may have only had one computer, which had to be shared with everyone that needed access to it. Rather than have people sit around and wait to use the only computer, which would otherwise be sitting idle, they adopted a system of timesharing, where multiple users would log in with separate accounts at the same time, each sitting at a separate terminal (often just a teletype machine in the early days). A single computer would serve dozens of people at the same time, each with their own keyboard and screen and their own files.
Deep down in the core of the operating system, key parts of your computer still think they are set up that way. Some modern computers even continue to operate in this way—it is particularly common in high-performance computing, used for weather forecasting among other things, as well as server administration.
With personal computers, like most of us use in our homes, this kind of timesharing is no longer necessary or usually practical. However, the same systems useful for old timesharing systems still exist on your computer, and have been modernized and adapted to personal computing needs. Even with only a single “terminal” (where you access the computer), it is possible to create multiple accounts for different people in your home, each with their own separate files, preferences, and permissions. This can be extremely useful for families.
In this article, we will show you how to add, remove, and manage users through the graphical interface provided by KDE. The same settings provide the option to set passwords (including changing an existing password), which we will also explain.
Finding user settings
Everything we will do in this tutorial will be done in the user settings page. You can open this by clicking the application launcher on the bottom left of your desktop and finding System Settings.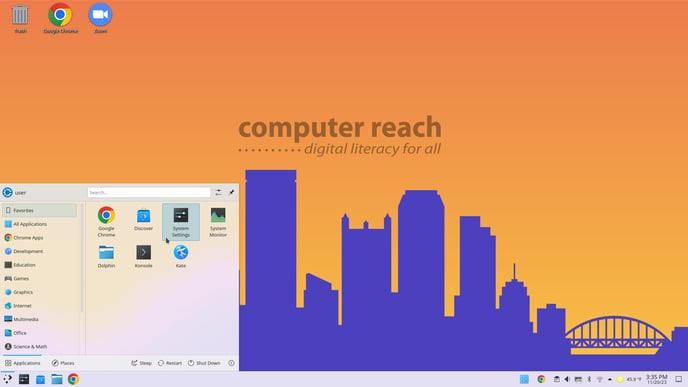
If this isn’t showing up for you, you can also type “System Settings” into the search box and it should come up.
From there, you can find the “Users” settings page listed in the left pane under “Personalization”.
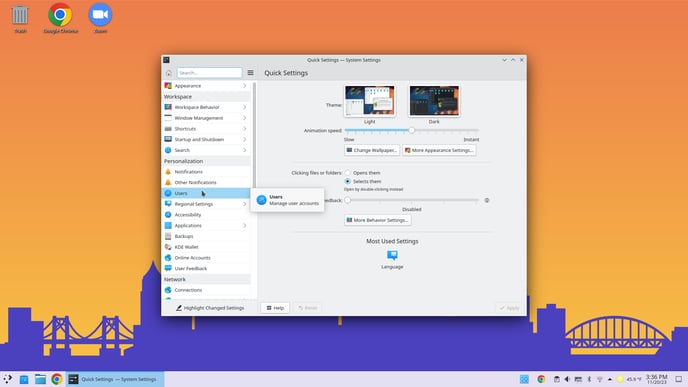
Click on it to open the users settings page.
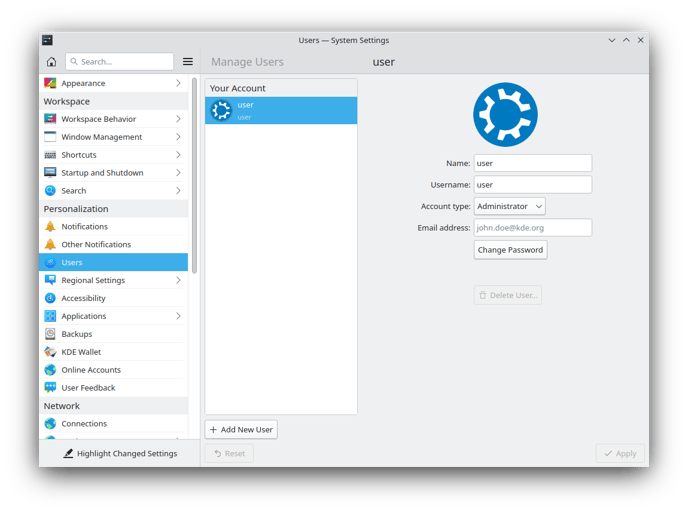
From here, you can see two columns: the list of accounts, and the settings for each individual account. If you received your computer from Computer Reach, or if you installed your operating system from an installer, you will by default only have one user account. On computers distributed by Computer Reach, this account is simply called user.
Changing your password
To change your password, click the button labeled “Change Password”. You will then be prompted to enter your new password twice (this is in order to avoid any typos that could result in you getting locked out of your computer). Once you have done that, click the box labeled “Set Password”. You will then be prompted to enter your current password. This is to ensure that you are the account owner and not someone else. Press Enter when you are finished. Your password should now have changed. When you log in or are prompted to enter your password, you should enter the new one from now on.
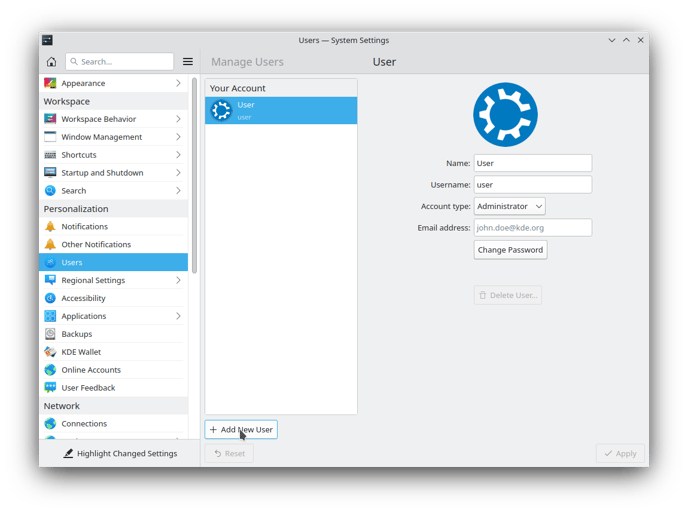
Adding new users
To add a new user, click on the box labeled “Add New User”.
 You will then see a page with text boxes asking for information about the new user. We will walk you through each of these.
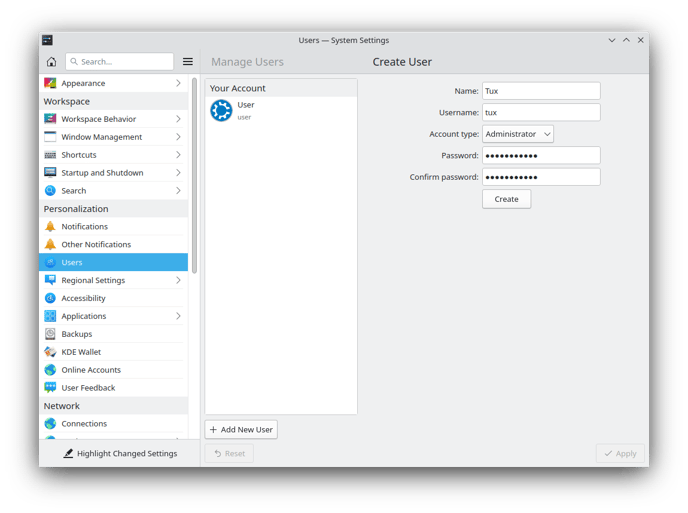
Name: This is the name of the person associated with the account. It is not the actual username which would be entered when prompted for one. In our example, we have entered “Tux”, the name of the Linux penguin mascot.
Username: This is the actual name of the account. It should be a single word, and best practices are to leave it as all lowercase. This can be nearly anything, so long as it is a single word (i.e., no spaces) and is unique.
Account type: This determines the basic permissions this account will have. Setting it as “Administrator” will allow this user root access, which will allow them to install and remove software, access any file, control running processes, and affect the overall security of the computer. If you are setting this for the owner of the machine or someone trusted with control of it, we recommend setting this to “Administrator”. If you set it to “Standard”, this user will not be able to access other users’ files, nor will they be allowed to install or remove software or make major changes to the computer. They will be able to store and access their own files and use software already installed on the computer. This may be a good option for children or guests.
Password: You need to set a password for this user, which they will use to log in. Once they are logged in, they can change the password using the steps described above. You are prompted to enter it twice in order to avoid typos.
Once you are satisfied with the information entered, you can press the button labeled “Create”. You will then be prompted to enter your password.
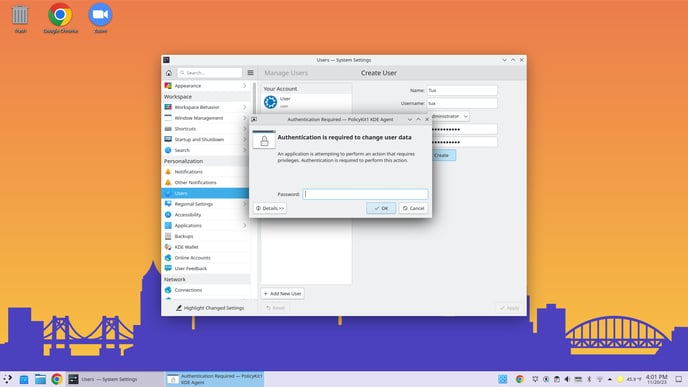
Enter your password (not the password for the new user) and click “Ok” or press Enter on your keyboard. There should now be a new user account on the computer. To access it, log out and then select the new username from the list and enter the new password. You will be taken to a new desktop, which can be fully customized.
Removing users
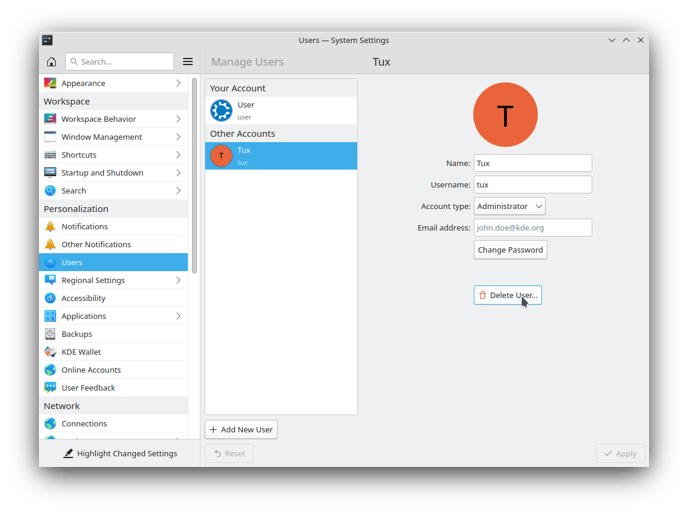
To remove a user account, simply select that user from the list and then click “Delete User”.
Before deleting the account, you will be asked if you want to keep or delete the files associated with that user. If you choose to keep the files, they will remain in their original locations. (All user files in Linux are placed in the /home directory. For Tux, those files would be stored in /home/tux/, while User’s files would be in /home/user/.) Click on the option you want. You will then be prompted for your password.
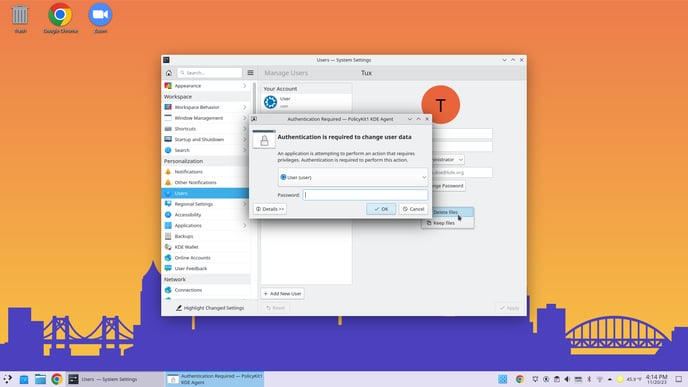
Enter your password and press Enter on your keyboard to remove the account.