In the old days, when we wanted to move or copy a file to another computer—whether to move something between our home and work computers, to share something we're working on with a friend or coworker, or to make backups—it meant copying the file to some external medium, like a floppy disk or a USB flash drive, or dealing with complicated network file transfers. For the most part, this is no longer the case. In an age when most people have multiple computing devices, and where one of the most important of them, the smartphone, is far too small to practically make use of flash drives or disks, we need a much more practical solution.
That solution has been found in the ubiquitous Internet connections that define the modern age. If every device you use is always connected to the Internet, and by extension, each other, then there is no longer any need for something like an external disk to transfer most files. Services like Google Drive have largely replaced other means of file transfer. Not only that, but by building it around the assumption that you can be connected to the Internet at all times, Drive and related technologies open up new possibilities like collaboration and managed sharing permissions, allowing you to maintain tighter control over the use and access to files you have created.
This article will explain how to use Google Drive to upload files, access them from other devices, share them with others, and keep them organized. While we will focus on Google Drive specifically, the basic principles should also apply to competing services such as Microsoft OneDrive and Apple's iCloud, with some minor differences.
Uploading and downloading files with Google Drive
Begin by navigating to drive.google.com and sign in with your Google account if you have not already. If you do not have a Google account, sign up for one by clicking on the button that says “Create an account” and follow the instructions.
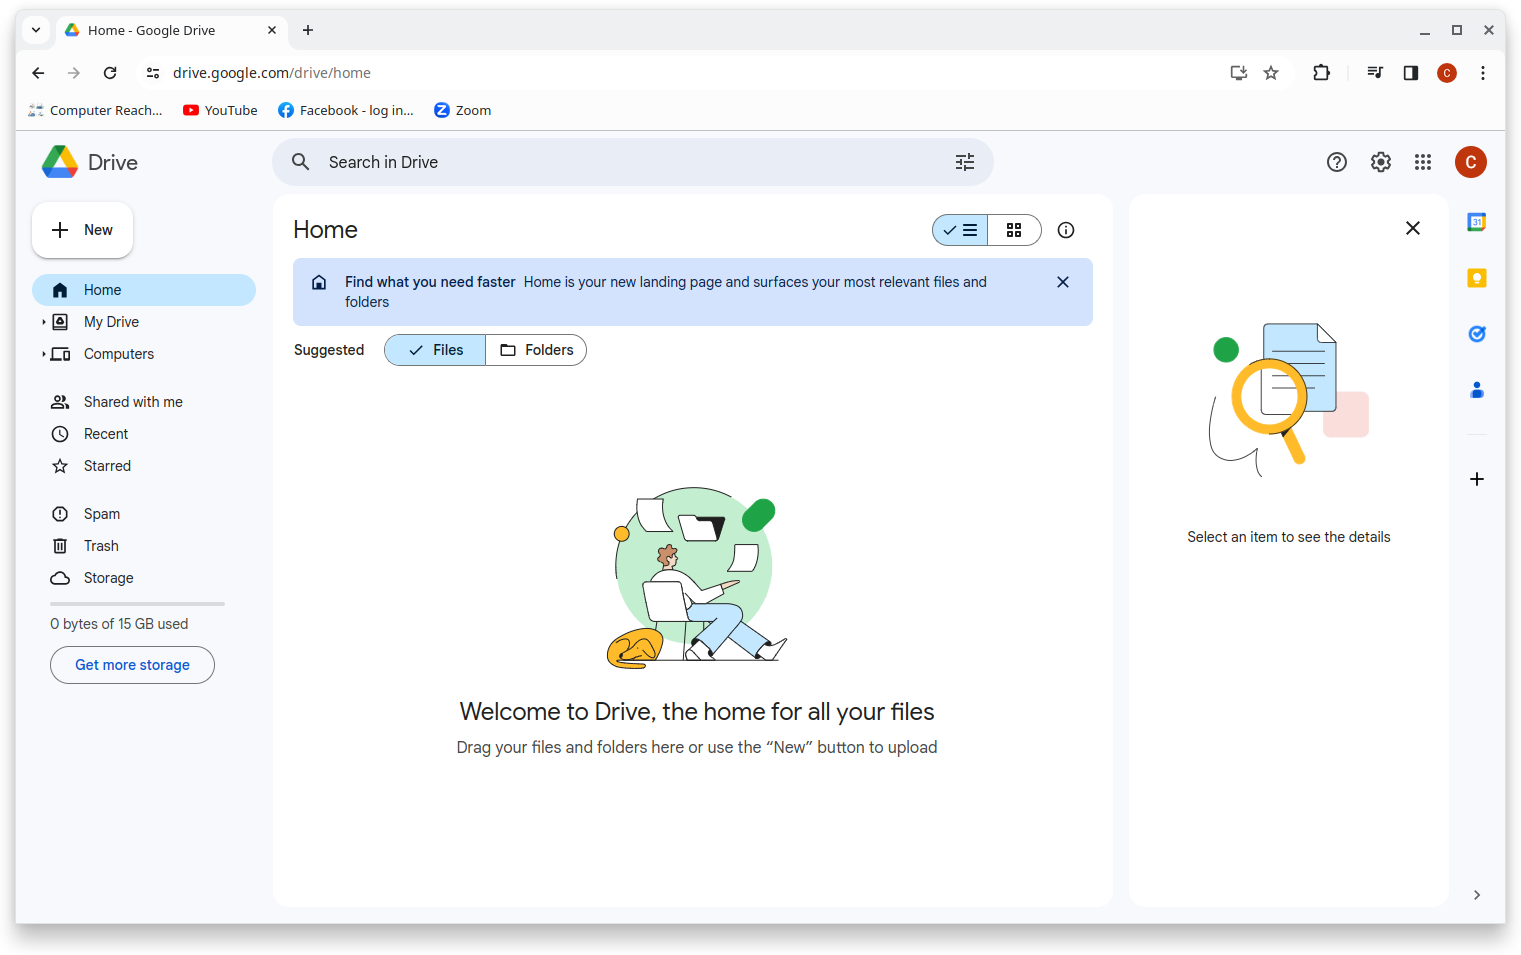
If it’s your first time using Drive, then your Drive should be empty. You should see a page that looks like this:
There are a few ways to upload a file to Google Drive. All of them require, at some stage, for you to be able to find the file you wish to upload on your local file system. If you have the file opened in a file manager like Dolphin, then the easiest way to upload the file is to simply drag and drop the file from Dolphin into the browser window showing Drive.
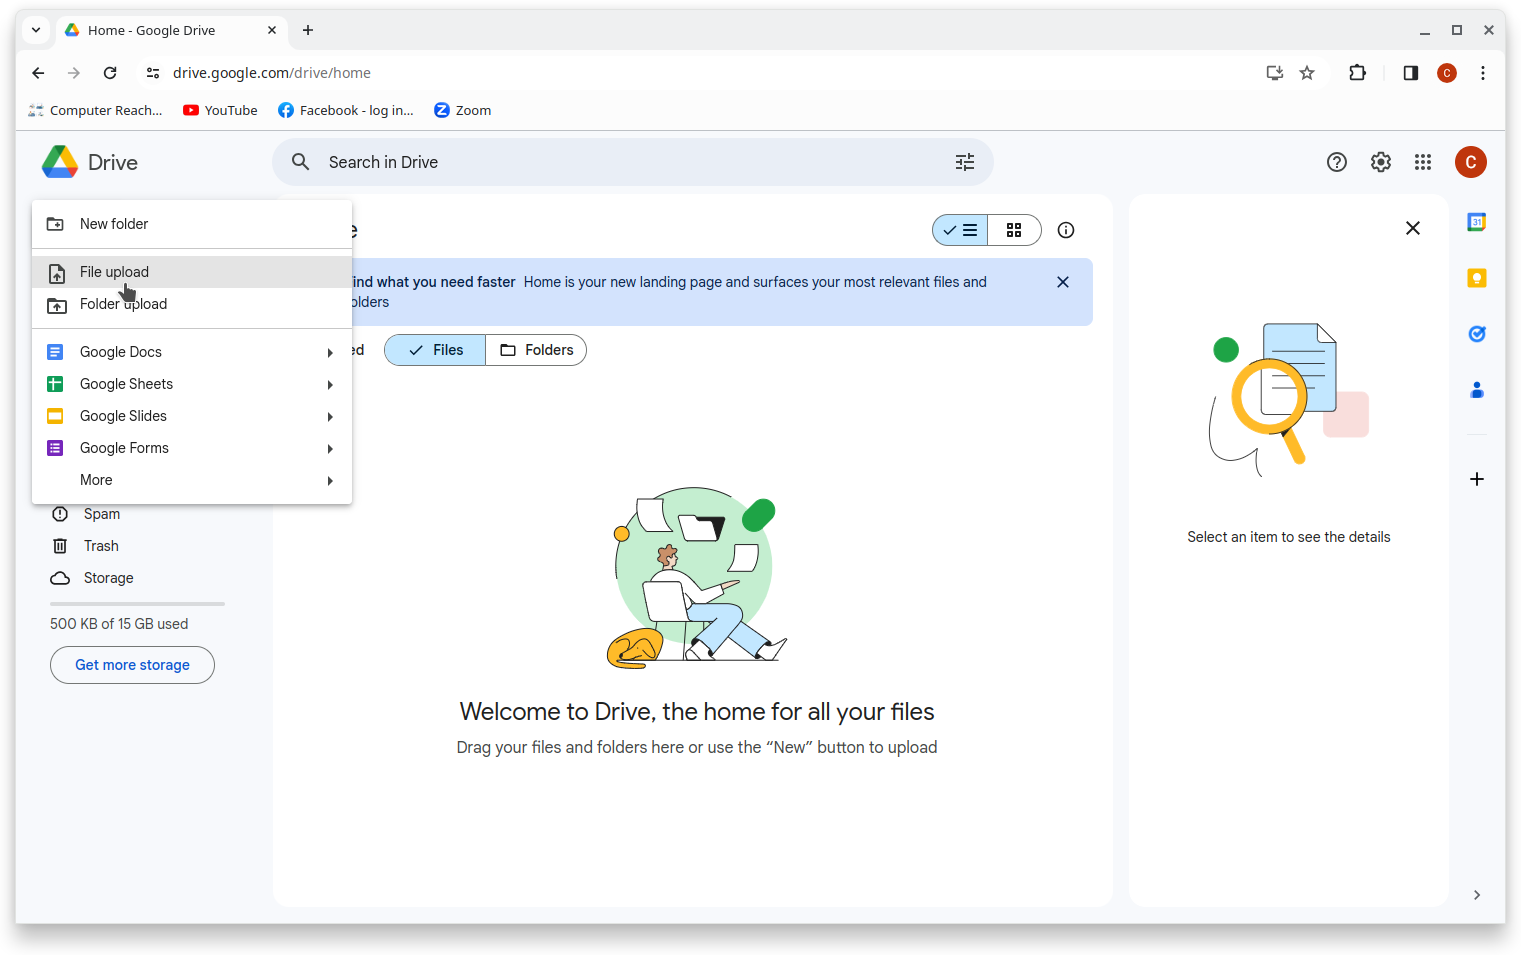
Another more straightforward but less intuitive way to upload a file is to click the button on the left side that says “New” next to the + symbol. When you click on that icon, you will see a menu come up with a few options. For this operation, we want to click “File upload”.
This will open your system file manager (e.g., Dolphin) so you can browse your local file system to find your file and upload it. Once you find your file, click on it and then click on the button that says “Open”, “Upload”, “Select”, or something similar (depending on the file manager you are using).
Whether you use the menu or the drag-and-drop method, once you finish, the file will start uploading. If you are uploading a small file, it may finish uploading in less than a second; larger files will take proportionately longer. You can see the progress of the upload in the box that should appear on the lower-right portion of your screen. Once it is finished, your file has been uploaded.
Of course, uploading a file is rather pointless if nobody will download it later. So let’s look at how we can do that. If you have another device, such as another computer or a smartphone (with the Google Drive app installed), you can log in on that device and access all of your saved files on Drive.
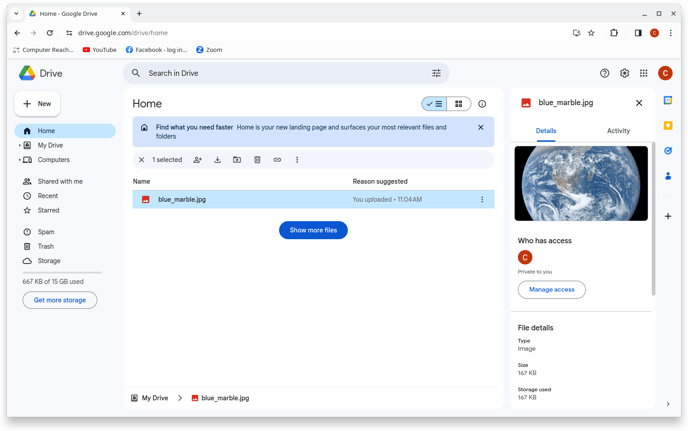
If you double-click on a file, you will be presented with a few possible options, depending on what type of file it is. For pictures, PDFs, plaintext files (e.g., .txt files), and certain other formats, Google Drive will be able to render them and so you will see a preview of the file if you double-click it. (For example, if it is an image file like a .jpg, you will see the picture that is contained in the file; if it is a PDF, you will see the contents of the PDF on your screen.) For other types of files, you will see a notice saying that Google Drive can’t show you a preview for that type of file. In either case, you will have an option to download the file to your computer to view from there. You will either see a button that explicitly says “Download” or you will need to click on the download icon on the top right of the screen (pictured below).
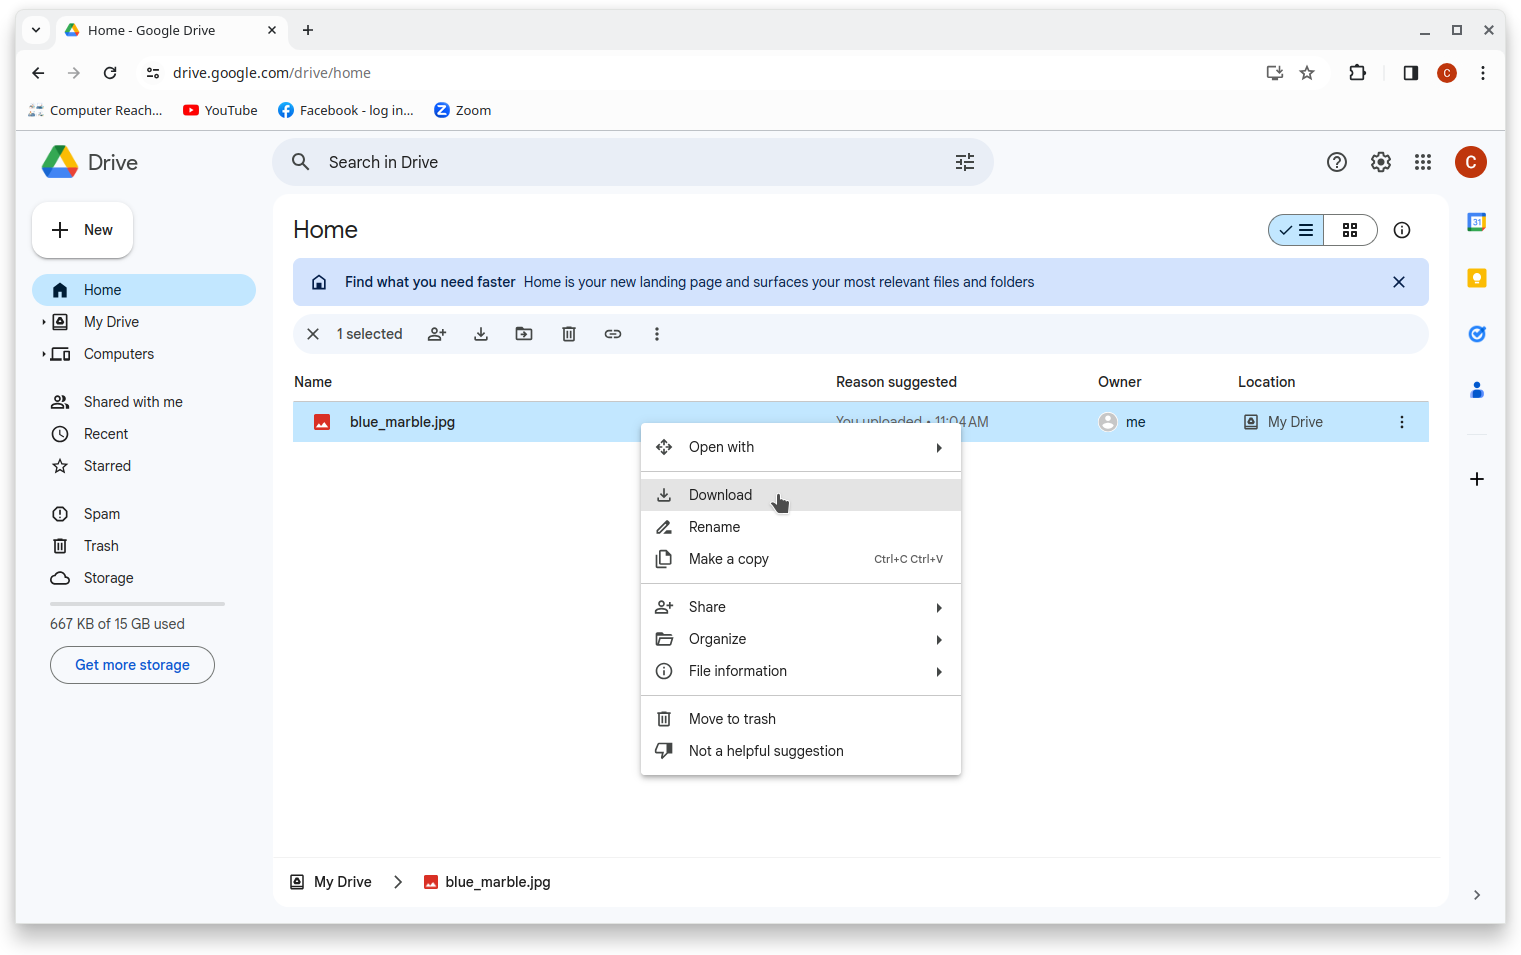
Click on either of those buttons. The file will start downloading immediately. Just like with the upload, small files will download quickly while bigger files will take proportionately longer. Once the file has downloaded, you can find it in your Downloads folder (~/Downloads).
Important note: Changes you make to a file you have downloaded from Drive are not reflected in the version still stored on Drive. So if you download a file to your computer, then make changes to it on your computer, those changes will not be automatically made to the file on Google Drive. Unfortunately, you will need to delete the file on Drive and then upload the new version.
Organizing files and folders
Once you have more than a handful of files, it will become more difficult to find any particular file by just scanning through the list on the Drive home screen. Having all of your files in one place is not any use if you can never find the file you want. Fortunately, there are a number of ways to make finding your files much easier. They vary in the amount of work they take on your part to make it work from none at all to requiring careful organization of each file. There are advantages and disadvantages to all of them.
The search bar
The simplest way to find a file is to use the search feature. It shouldn’t be surprising, given that Google’s primary business is search, that Drive has a powerful search tool built into it. At the top of your screen is a search bar, into which you can type searches for almost any description of your file or any content it has and have a good chance of it returning helpful results. You can search for the title of the file; any text that is in it (e.g., “files containing ‘Weekly report’”, or “receipt”); the type of file (e.g., “pictures”, “jpg”, or “spreadsheets”); the date (e.g., “before July 2022”); and many other properties. This feature is improved regularly as of January 2024, and developments in AI technologies are likely to make this feature even more powerful in the near future.
Folders
Just like on your local file system, you can also organize your files in Drive into folders. This allows you to group similar files together into a single location, which can also help to manage common settings if you choose to share the folder.
If you go back to the “New” button that we clicked on earlier to upload a file, you will also notice that there were a number of other options. One of these, at the top, said “New folder”. Click on that and enter a name for that folder in the dialog box that pops up. When you are done, click “Create”. You will then see that your new folder has shown up in the file list on the main screen.
There are a few ways to move files into that folder. One way is to drag and drop like we did when uploading. You can click on any of the files you see and drag them over to the folder we created; when you release your mouse, the file will move to that folder.
Another way is to use the menu system. If you right-click on any of your files, you will see an option that says “Organize”. If you hover your mouse over it, you will see other options, including “Move”. Click on that, and you will see a list of all your folders come up.
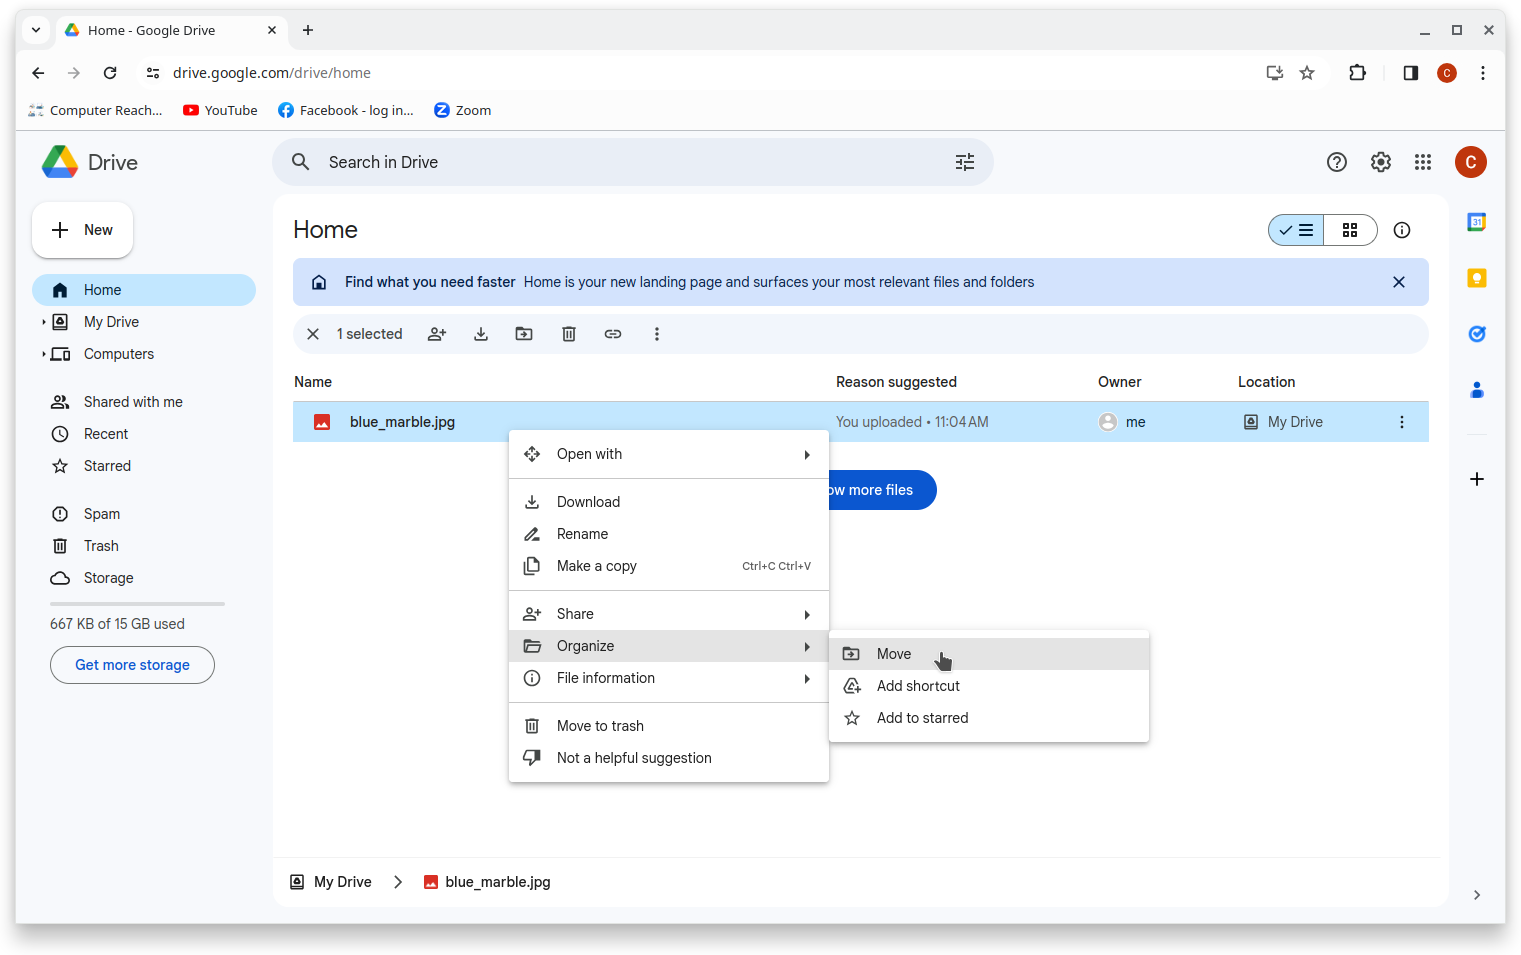
Find the folder we just created and click on it. Then click on the button below that says “Move”. Your file will then be moved.
One other thing you may wish to do is create subfolders, or folders within your folders. This can be helpful for managing large projects. For example, if you have a folder containing important financial documents, you may wish to create subfolders within it for each year, so 2022 and 2023 would be in separate folders. You can do this very easily by first double clicking on the folder you want to create a subfolder in in order to enter it. Then, click on “New” and then click “New folder”, just like we did at the top level. You can then give the folder a name and move files into it just like before. You can continue to create subfolders inside your subfolders as you see fit.
And of course, storing your files in folders and subfolders will not stop you from using the search function. You can still find files within all of your folders by searching for it.
Sharing files and folders
Using Google Drive for storage is only one of its features. By storing your files on the cloud instead of on your local machine, you aren't limited by constraints of physical location. Not only can you access your files from any device that you own, you can also share it with other people easily. This can be useful for collaborating with other people or sharing larger files, like videos, that are too large to be sent by email or other means.
There are two ways to share files. One way is to share directly with an individual person by using their email address; the other is to create a link which you can then send by email or any other means. There are advantages and disadvantages to each approach. Generally though, if you are sharing your file with only a single person or a small group and they all have Gmail accounts, then sharing it directly with those accounts is usually preferable. If that is not the case, or if you intend to share the file with a lot of people or publish it to the web, then sharing it as a link is usually the best option. We will explain both approaches.
Sharing with specific people
If you right click on one of the files in your Drive, you will see a menu with a few options. About halfway down the list is an option that says “Share”. Hover your mouse over it and you will see a submenu with a few different options. Click on the one that says “Share”. You will then see a menu that looks something like this:
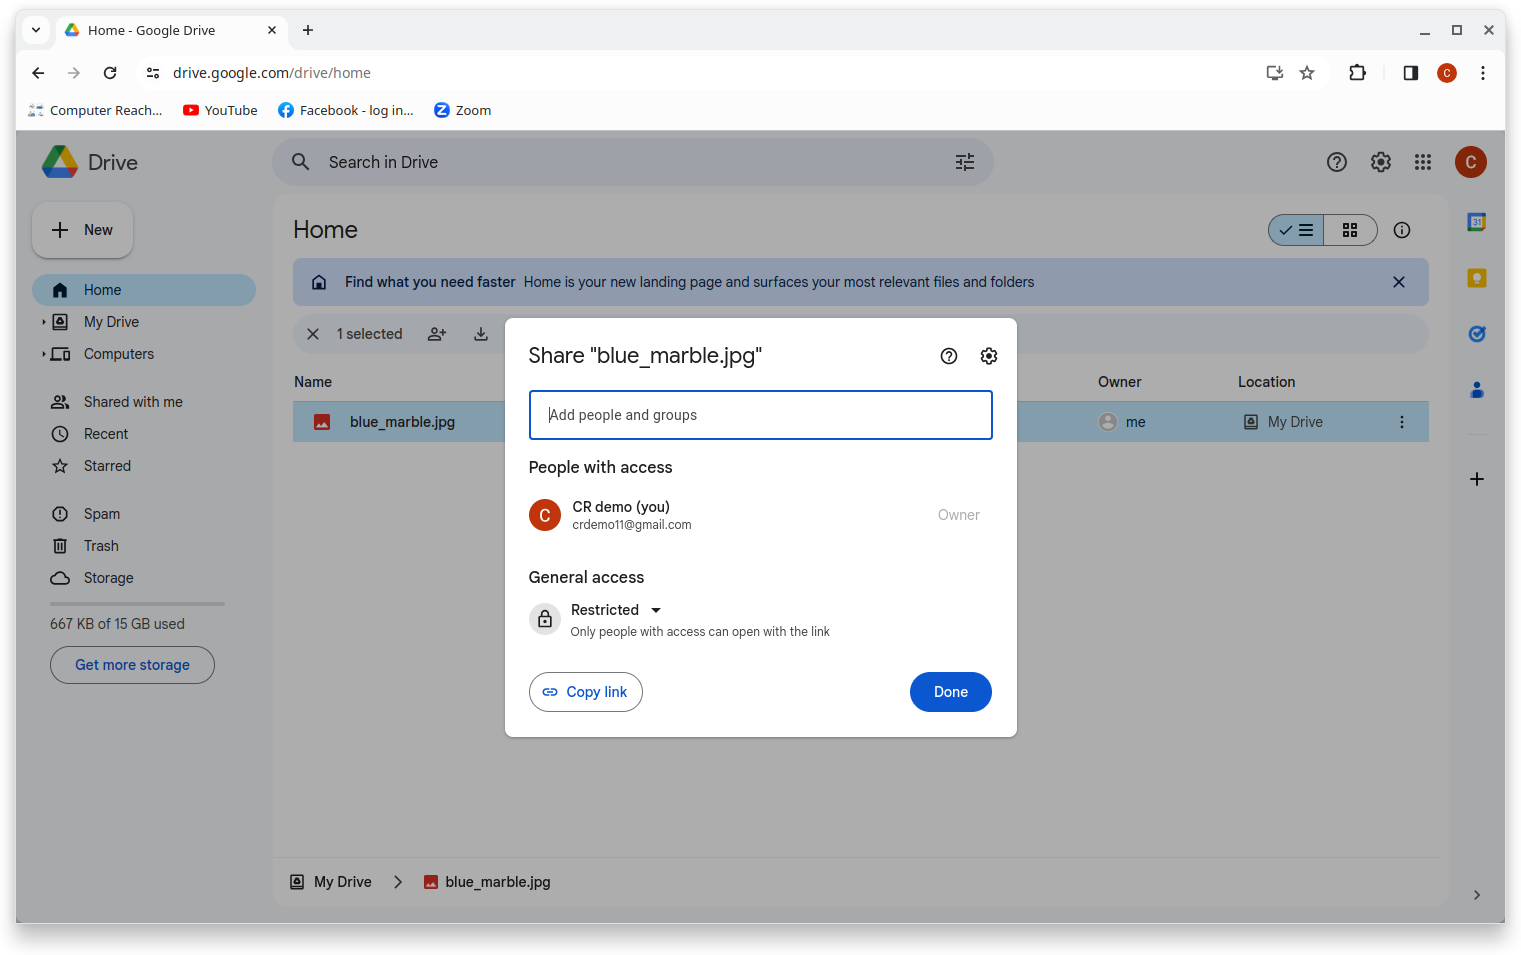
If the person you wish to share the file with is already in your email contacts (assuming you are using Gmail), then you should be able to type in their name. If they are not, then you will need to type in their email address. Once you hit “Done” they will receive a notification by email that you have shared the file with them.
Sharing with a link
Alternatively, you may wish to share a link instead. To do this, right click on the file and hover your mouse over the option that says “Share”, and then click on “Copy link”. The link will then be copied to your clipboard. You can then paste the link into an email or other message to send to whoever you wish to send it to.
Note that link sharing offers a lot less control over who can see your file. Anyone that gets the link will be able to download your file, so consider that if the file contains any personal or sensitive information or if you are not able to trust the recipients of the link (such as if it is going out to the public).
How permissions work
You may notice in the sharing menu that the names of the people you have shared your file with and any links you have created have a column next to them with either “Viewer”, “Commenter”, or “Editor” written. These are the permissions that person has. Someone with “Viewer” permissions has the ability to view your file, but they cannot change it in any way. Someone with “Commenter” permissions is able to leave comments on certain types of files, such as Google Docs and Sheets. And someone with the “Editor” tag is able to make changes to your file. (As a practical matter, this is mostly only relevant for Google Docs and Sheets files, which can be edited online.) You should also notice an option to remove access as well.
Conclusion
Cloud storage tools like Google Drive offer the ability to take full advantage of the networks that all of our devices are on. Mastering tools like Drive means that you are not confined to a single device and are not vulnerable to failures of any one machine. And by storing your important files in the cloud, you are able to more easily share and collaborate with others.
Drive is continually evolving, and new features are bound to be introduced and new workflows are bound to be developed. But with these basic usages—uploading, downloading, organizing, and sharing files—you will understand the core usage of Drive and be equipped to take advantage of future developments.