Introduction - What is Google Docs?
Google Docs is a word processor, like Microsoft Word or LibreOffice Writer. It is a tool for writing papers, letters, and anything involving the written word. It allows you to manage the layout, formatting, and other details of your document so you can focus on the writing part. The only real difference between Google Docs and other word processors is that Google Does is entirely online. This means that you do not need to install anything, as all you need to do is login to the website. And as a program that is natively online, it offers a few other advantages as well. Most importantly, it makes sharing and collaboration easy by eliminating the need to send different versions of a file between different computers.
This article will serve as an introduction to Google Docs for people who are generally new to using computers and online services. We cannot be comprehensive, as Google Docs is a large and powerful program with many features that couldn't fit in an introductory article. For more in-depth explanations and guides, please see the Google Docs official documentation.
What is a word processor?
In its broadest sense, a word processor is just a tool for writing documents. It is distinguished from a text editor, which is a simple program used by programmers to write computer code and other simple text files. Word processors have controls for formatting text and other features that are useful for documents that might be printed out or shared with human readers.
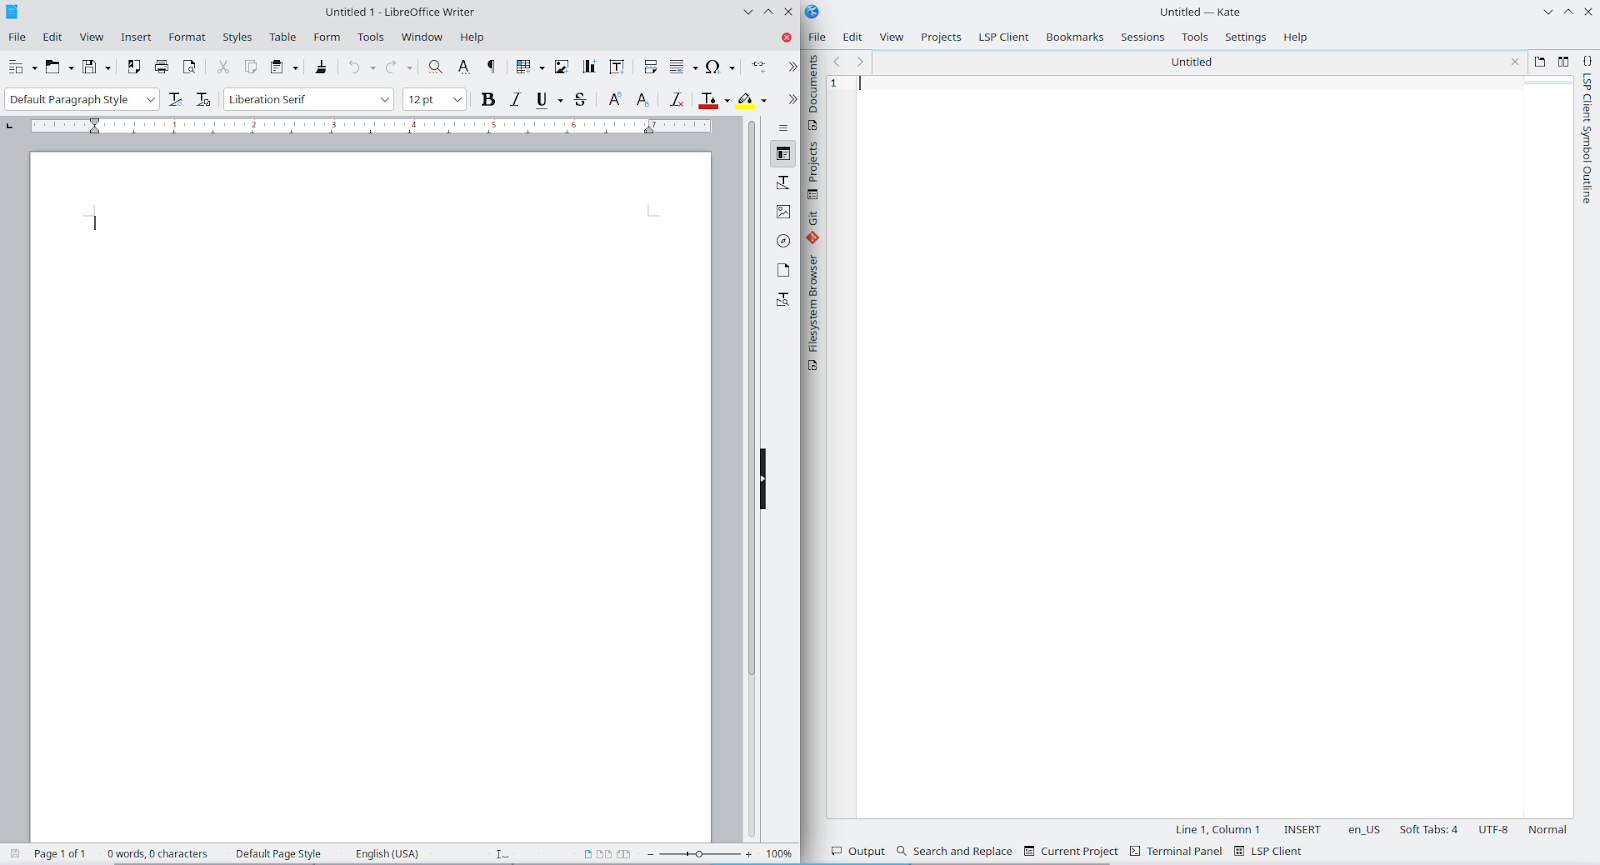
Left: LibreOffice Writer, a modern word processor. Right: Kate, the KDE text editor. Notice that the word processor includes a number of commands that facilitate producing a nice-looking printed document, while the text editor is far more sparse, suitable only for entering plain text.
Word processors actually pre-date the personal computer by several years. The first word processors were standalone machines, essentially just advanced electronic typewriters. They had an internal memory which could store several pages of text, which could be adjusted in-memory. These devices also had the ability to offer greater formatting control over things like the margins or the style of the font (such as if it should be bold or italic). Once the document had been written, it could then be printed out on paper by controlling the actions of the typewriter.
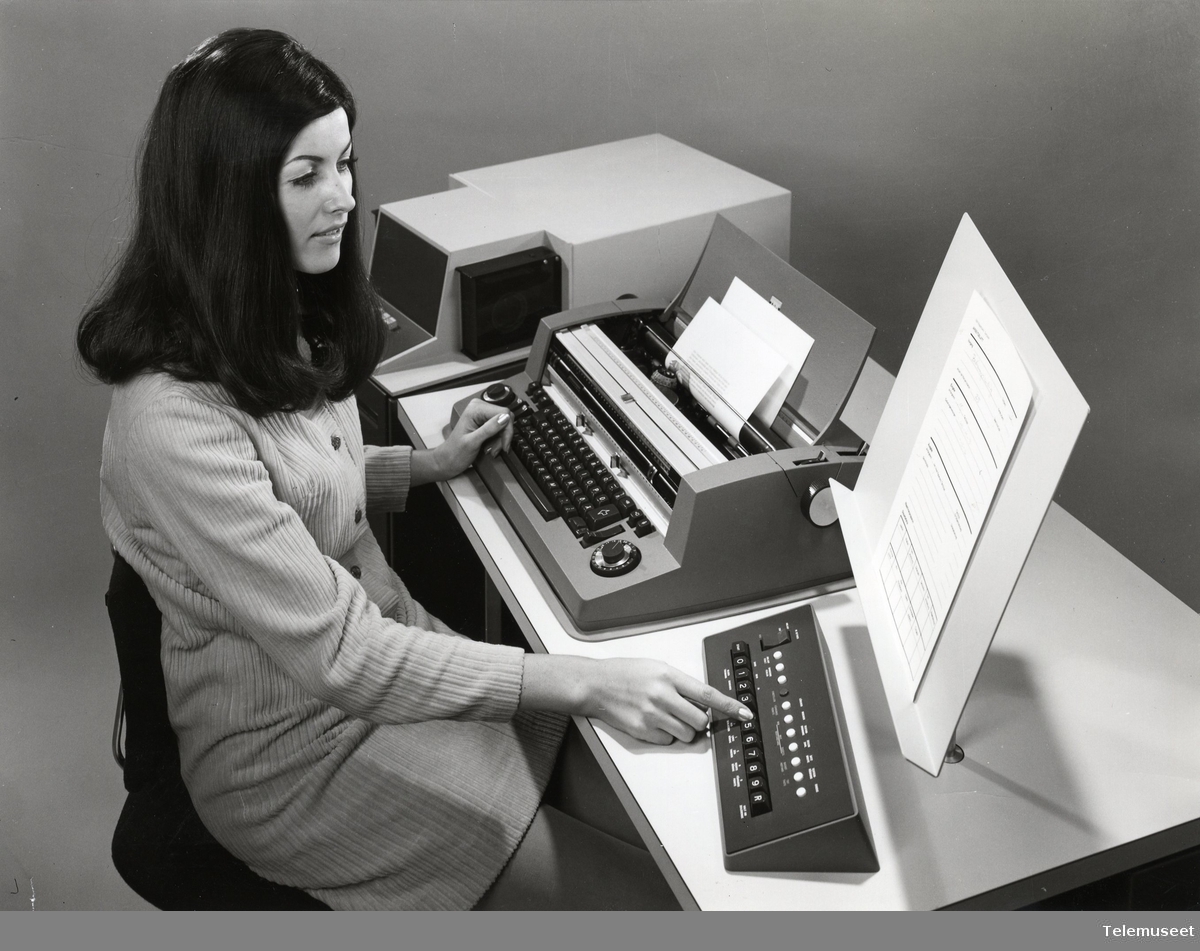
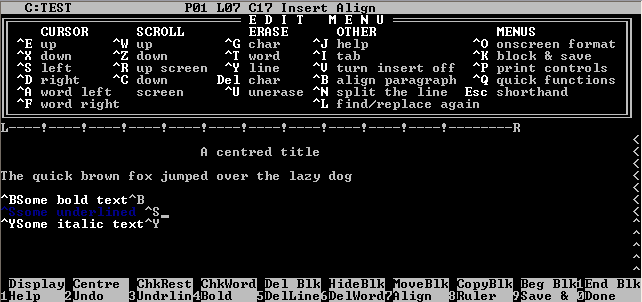
Left: An IBM Selectric Composer model 72, released in 1964. A modified electric typewriter, it was the first device to be marketed as a “word processor”. Right: WordStar on MS-DOS, released in 1982.
These devices quickly became favorites of writers, students, secretaries, and anyone else who needed to write documents on a regular basis. But as standalone devices, they quickly became obsolete as full-featured personal computers became more powerful and more affordable. Like many other technologies, the word processor was absorbed by the more powerful and more versatile computer. Word processors become programs on a computer, where they become substantially more powerful while also becoming easier to use and more streamlined generally.
One major change that has occurred over the last several decades is that the printed page has ceased to be the preferred and default medium for the written word. Most documents today are written for electronic consumption, to be communicated by email or published to the web without ever being printed to a sheet of paper. Word processors have certainly evolved to suit this new paradigm, with new features and interfaces to suit this style of publishing. The most modern, which include Google Docs, take full advantage of their freedom from the printed page, allowing their users to share and collaborate online.
Getting started with Google Docs
Begin by navigating to docs.new in your web browser. This will take you to a new Google Docs page. Sign in to your Google account (or sign up for one) if you need to.
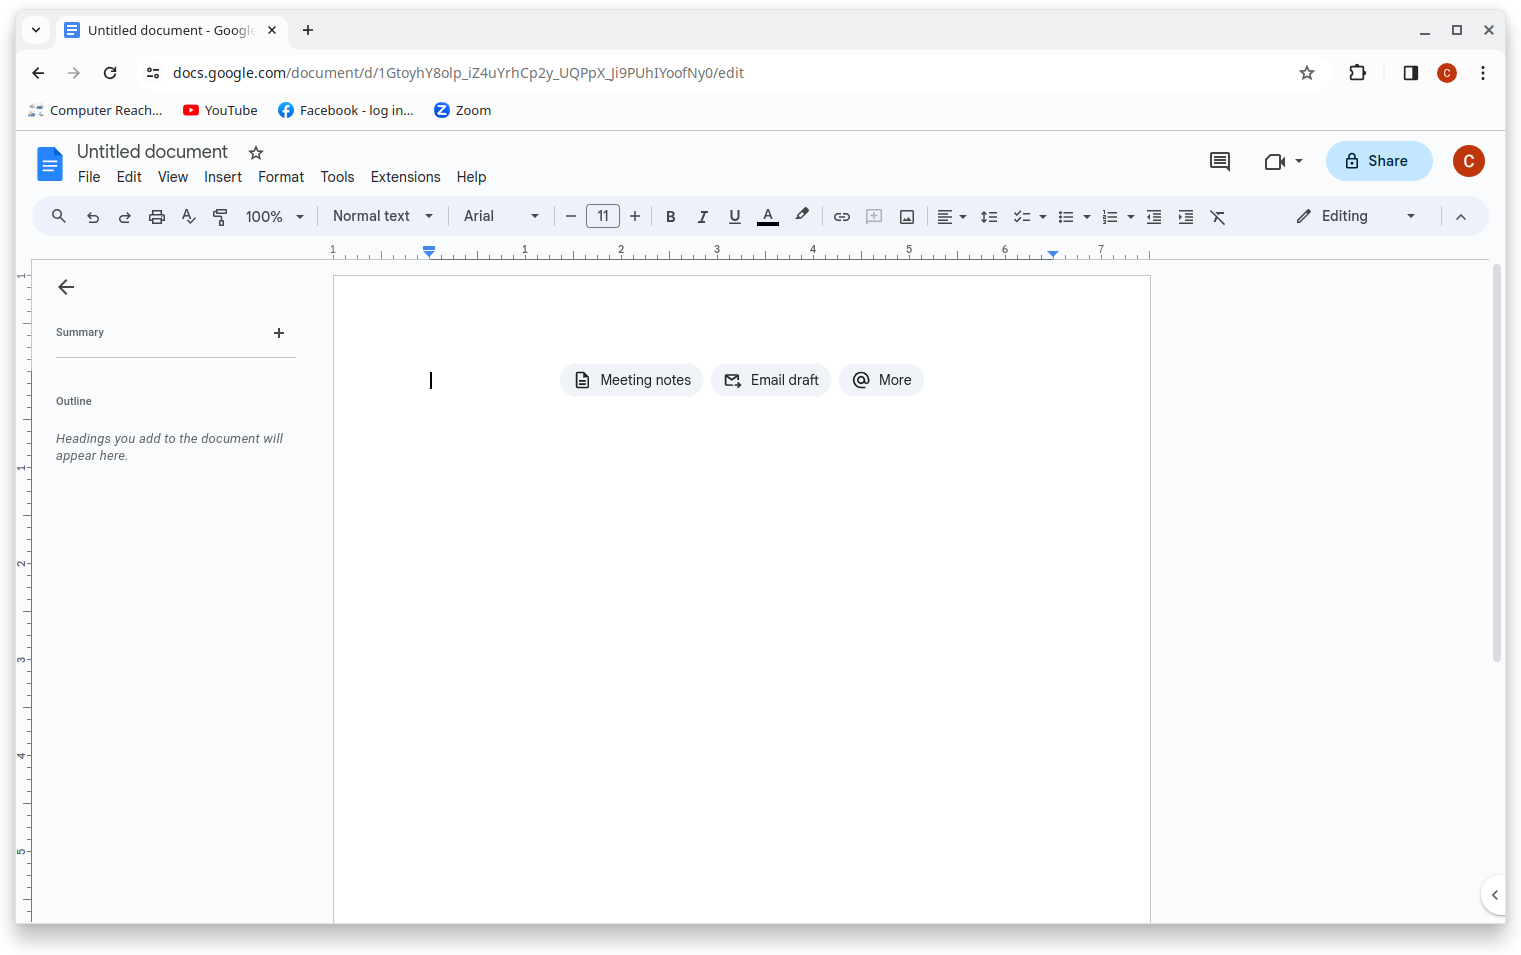
The basics of using Docs are very simple. On the blank page you have in front of you, click on it and begin typing.
Formatting and appearance
You can adjust aspects of the appearance of the text with the buttons on the toolbar at the top.

You can adjust the font size by pressing the + or - buttons next to the number (11 in the image) to make the text bigger or smaller. You can make the text bold, italic, or underlined by clicking either the B, I, or U buttons. How the text is aligned (i.e., aligned against the left edge of the page, the center, the right, or “justified” so that the text spans from the left to the right margin), by clicking on the button under the “alignment” label in the image above. You are also able to change the font entirely by selecting it from the menu (where it says “Arial”, the default font, in the toolbar).
These buttons allow you to make quick changes to the appearance of your text. However, for longer documents or documents you intend to publish, it is usually better to use styles over direct formatting. You can select the style from the box in the toolbar that says “Normal text” by default.
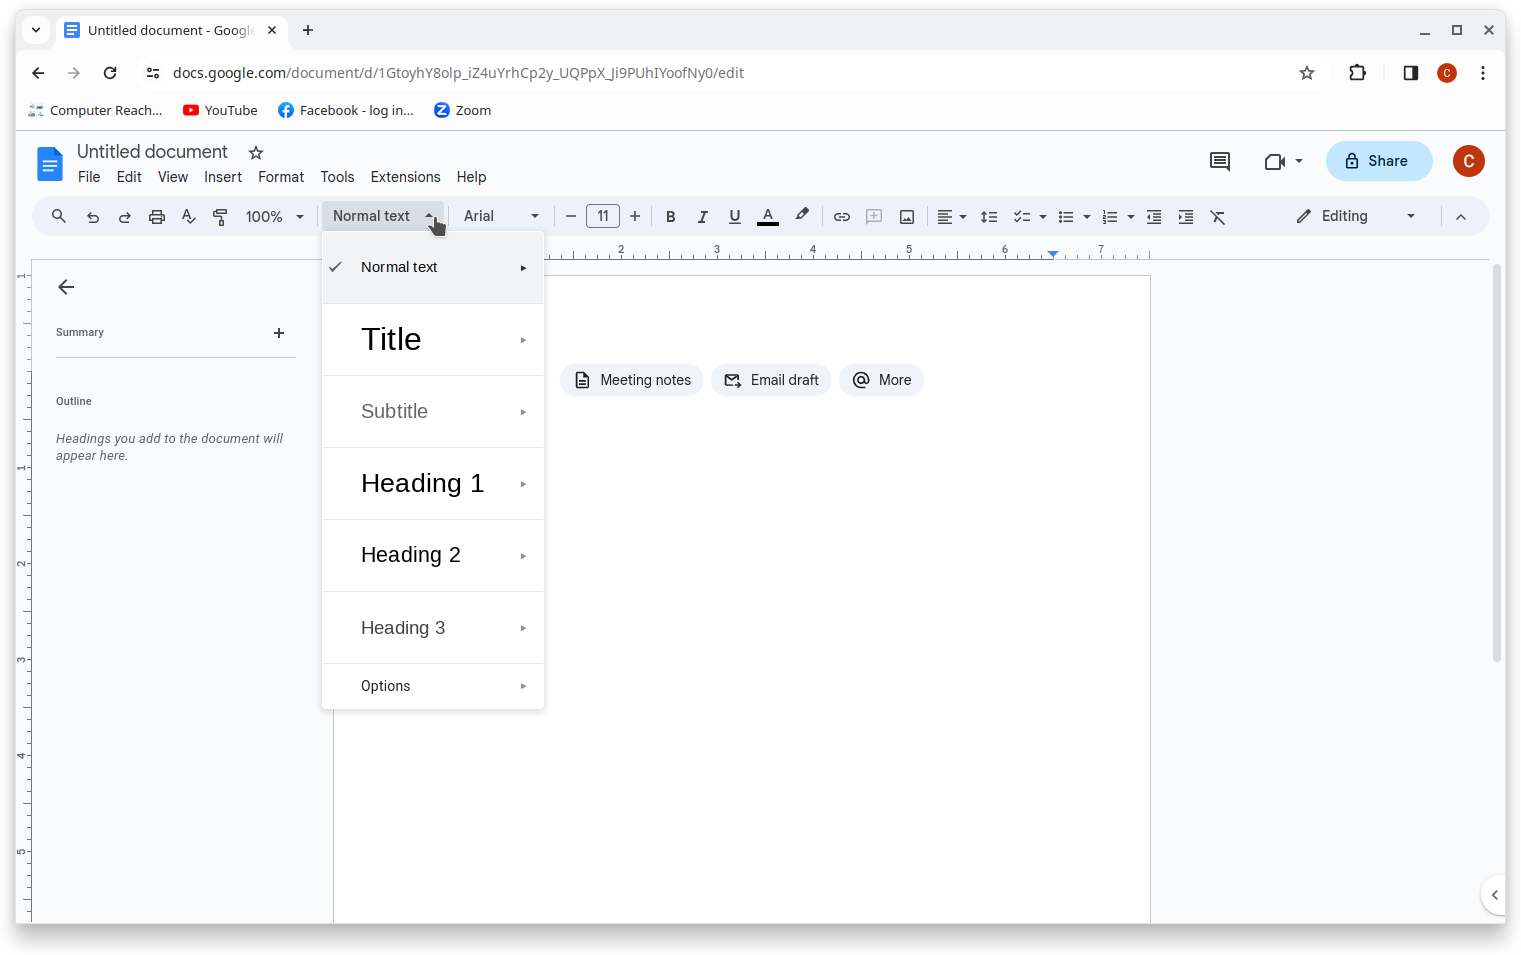
Using styles will allow you to more easily manage the appearance of recurring elements in your document. So for example, if your document has multiple headings and subheadings, it is best to use the “Heading 1”, “Heading 2”, etc., styles for each of these, rather than manually adjusting the font size or format. By using the styles, you are able to make changes to these headings all at once (for example, if you wanted to make your top-level headings bigger, you could change all of them at once). Additionally, if you wish to export or publish your document to another format, using the styles will make this a lot easier, as Google Docs will be smart enough to translate these headings and other styles into corresponding styles in another format. So if you export it as a web page, the heading information will be preserved. (This is important for accessibility, as a style can be expressed to a blind person through a screen reader, unlike a font.)
Collaboration
Collaboration is one of the most important features of Google Docs. Unlike a traditional word processor, because Docs is an online service, it is not restricted by the same limitations as a local program. Because it is online, multiple people are able to connect to the same document at once and work on it together. Combined with the nearly universal popularity of Google services, Google Docs is perhaps the most indispensable tool for online collaboration available today.
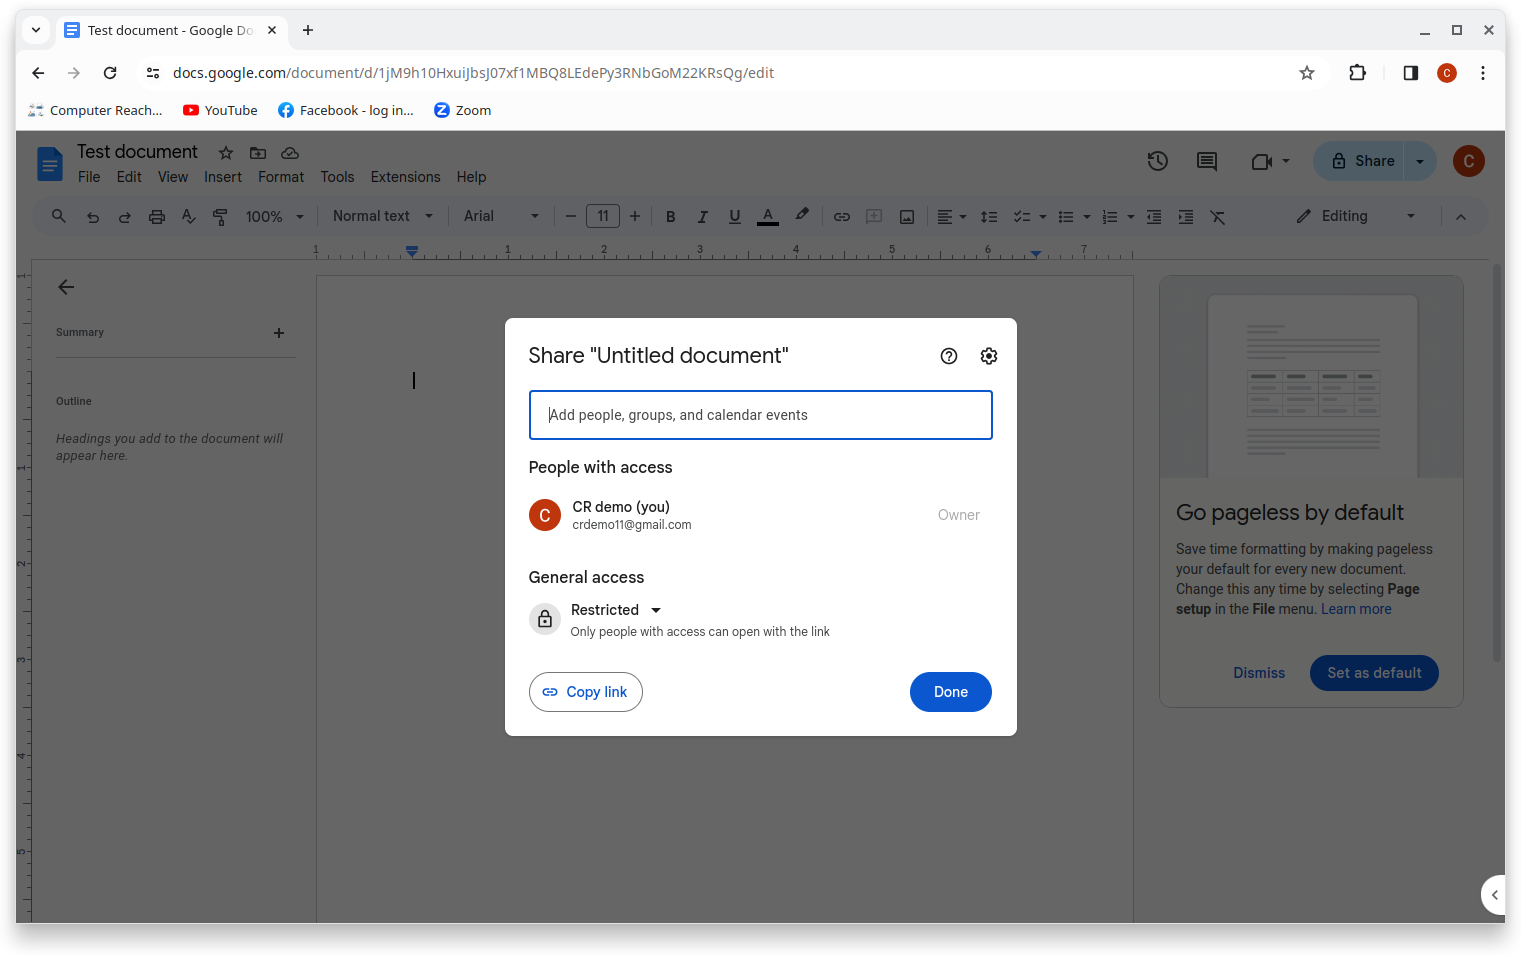
Click on the “Share” button on the top right. If you are looking to share the document with only one or a few people, then you can enter their email addresses into the text box. If they are in your email contacts, you can probably find them by only entering their name. Once you hit share, they will receive an email with a link to your document.
But if you wish to share it with a large group of people, or if you wish to publish it to the web, then the best way to share it is to share a link. Make sure that you have the right permissions set. If you are sharing it with a link, then it is likely that you want to make it available to anyone with the link and not just a preset list of people. In that case, you need to make sure that the “General Access” field is set to “Anyone with the link”. Once you have done this, press the “Copy link” button to copy the link into your clipboard, then press “Done” to close the window. You can now paste the link into any email body, text message, or other post. To access the document, the other person just needs to click on the link.
Sharing the document will allow you to work on the document with other people. If the other person has editing privileges, they will be able to make changes to the document. They can even edit the document at the same time as you, making collaborative writing much easier.
You can adjust the permissions each person you have shared with has. In the sharing menu, next to the name of each person, you should see a field saying either “Editor”, “Commenter”, or “Viewer”. If you click on it, you can assign different permissions to each person. Editor permissions give the person the ability to make changes to your document, including adding and deleting text; Commenter gives them permission to leave comments and suggestions (see below); Viewer only gives them permission to view the document and does not allow them to make any changes.
Somebody with commentor or editor permissions is able to make suggestions and comments in your document. Somebody who has editor permission will need to switch to suggestion mode by clicking the button at the top of the screen that says “Editing” and switching to “Suggesting” mode.
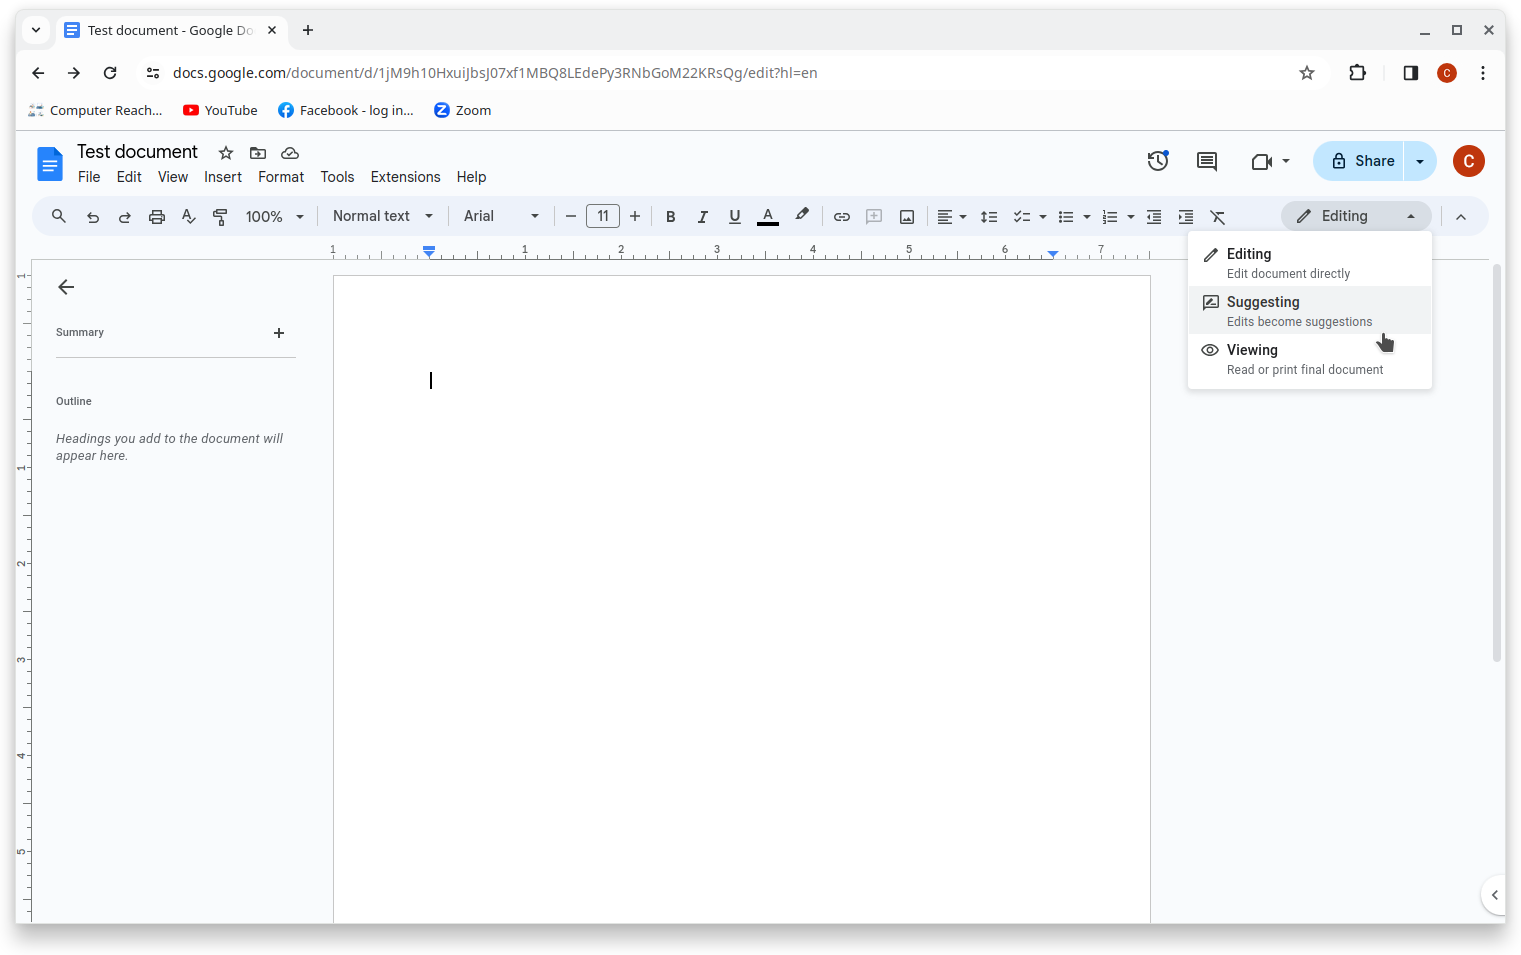
This will set it so any changes they make will be seen as suggestions, which will have to be approved or denied by the owner of the file or somebody with editing privileges.
This feature allows for a very productive style of collaboration. You and your co-editor can make changes to your document as you discuss them. Collaborative documents can also be used for things like project planning or any other kind of group coordination.
Images
There are several ways of adding images to your document. The easiest is to drag and drop an image directly into your document.
You can also add images from the menu by clicking on “Insert” on the toolbar, then selecting the option you need from there. If the image is stored on your computer, you should select “Upload from computer”. You will then be shown a screen from your file manager which will allow you to find an image and upload it. Just find the image and click “Upload”, “Okay”, “Select”, or whatever your file manager says.
You can move the image around by dragging it while holding down the left mouse button. You can resize the image by grabbing one of the corners and dragging it to an appropriate size.
Tables
Tables are useful for summarizing large amounts of information, but dealing with them manually can be very tedious and error-prone. Fortunately, Google Docs has several tools built in to make dealing with tables easy.
To start with, you can insert a table from the manu, by clicking “Insert” and then “Table”. You will then need to tell Docs how big of a table you want (ie, how many rows and columns). For example, if you want a 3x5 table, then highlight 3 columns and 5 rows in the menu that comes up, and then click to insert the table.
You can then highlight the whole first row and adjust the style. For example, you may wish for the header row to be in bold face so as to distinguish it from the data rows below.
You can also add and remove rows as needed. You do not have to predict ahead of time how big your table will need to be. To add a row or column, select the whole row or column by clicking on its edge, then select the appropriate option, such as “Insert row above” or “Insert column to the right”.
Tips and tricks
Google Docs offers a number of features that improve and customize your writing experience. We cannot go into the specifics of how to use all of these, but they are worth knowing about and exploring.
- The “Tools” menu in the toolbar has a lot of useful tools. You can see a word count, configure your spelling and grammar checker, translate your document to other languages, type with your voice, and several other things.
- Add-ons can provide new features that aren’t included in Google Docs by default. These can include things like handling math or music notation; managing citations; automating the creation of forms, letters, tables of contents, and bibliographies; and integrating with other services like Gmail or ChatGPT. You can find the add-ons by clicking “Extensions” → “Add-ons” → “Get add-ons”.
- If you do not plan to print your document to paper, it can sometimes be easier to work in a document without things like page breaks and margins. You can disable these paper emulations, or make adjustments to the size of paper you want to use, in the page setup menu, found by clicking “File” → “Page setup”.